Home


Restoring AMT-Ertl's U.S.S. Enterprise Kit


   Repainting the Enterprise turned out to be a bigger challenge than anticipated. Something must have been left behind by the original paint job that had a lasting effect on the plastic beneath.

   A spray coat of automotive primer would show cracks in several places as it dried. Spraying light mist coats and allowing a few days between each one didn't help. When the third or fourth coat was misted on, cracks would appear in the paint again. This happened even when spraying onto what appeared to be bare plastic. I needed a primer with a milder solvent.

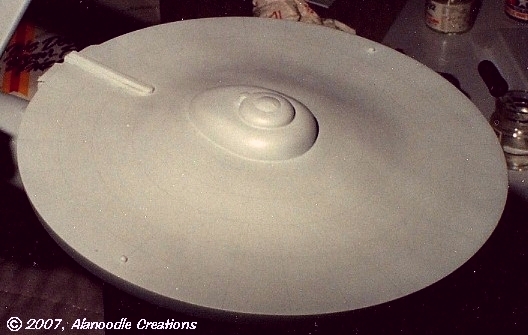
    I started with Tamiya's Light Sea Gray acrylic paint, a flat-finish, medium gray. I added a little Tamiya Flat Base paste to flatten the primer coat just a little more. Instead of using my preferred thinner of straight up denatured alcohol, I used a 50/50 mix of alcohol and tap water. Using my Badger 200 airbrush, some light mist coats of the "primer" went on smoothly with no issues. Each coat was given a few days to dry and was lightly sanded with 1200 grit sandpaper before re-spraying.

   As before, some details on the model would remain the color of the gray primer coat and were masked off using masking tape and Parafilm. Clear domes and lights, the inboard engine recesses and the copper navigation sensor were also masked off.
    When it was once again time to match the color of the Enterprise, I was a little more experienced and prepared than I was the first time around. I went with a 4:1 mix of Tamiya Flat White (XF2) and Light Sea Gray which closely matched the color in the photos from my last DC trip. Being a simple mix, it would be easy to consistently prepare enough for a single painting session rather than mixing up a large batch to insure color consistency. Alcohol and water was, again, the thinner of choice.
   As for the actual paint used when the Enterprise was built, later disclosure by Richard C. Datin, the Model Maker who oversaw the construction of the big model, stated that the paint was a custom mix of "a basic gray color . . . with a decided green tint." See pics of the big model after its latest restoration, here.

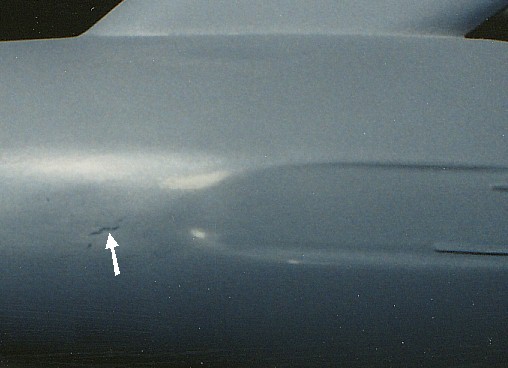
   The model was given several light coats of the main color. Each coat was given a few days to a week to dry completely and was gently sanded with 1800 grit sandpaper before the model was sprayed again.

    It was then time to decide if I wanted to give the model those deflector grid lines. The heavy grid lines look very interesting on the big model but is that the Enterprise I remember seeing on TV? They're just not visible when viewing the original episodes.

   I decided to compromise. I would include the grid lines but make them much less prominent than those that, at the time, adorned the big model.

   Once the final base coat was fully dry, grid lines were drawn using a sharp #2H drafting pencil. The flat-finish paint took the pencil lines nicely. On the saucer, they were drawn radially at 15° intervals and concentrically at half-inch intervals. Lines were also drawn on the secondary hull and engine nacelles. A compass was used for circles and Post-it tape was a perfect straight-edge for straight lines.

Yeah, but were they really there?
 
    The base color was then mixed with Tamiya Clear and lightly airbrushed over the grid lines to tone them down and to protect them from smudging. After applying the final coat, the grid lines are faint and barely show up in photographs.

   Clear Blue and Clear Green were mixed 2:1 and airbrushed on to highlight the saucer. 100% Light Sea Gray highlighted the dorsal connector and the warp engines. Post-it tape was used again, this time as a secure, low-tack mask.

    The model was then lightly weathered with shades of blue, gray and reddish brown to simulate the effects of warp speed on a spaceship hull. (No, really.) A couple of coats of Tamiya clear were then sprayed on, also thinned with alcohol and water to provide a glossy surface for decals.


intro
chapter 1
chapter 2
chapter 3
chapter 4
chapter 5
chapter 6
chapter 7
chapter 8
chapter 9
chapter 10

TUTORIALS AND KIT REVIEWS