![]()
![]()
|
As with all of the modeling projects I've taken on over the years, the Batmobile
conversion chronicled in this tutorial was started with the best of
intentions.
With the 2011 release of an accurate 1/25 scale Batmobile kit
by
Round2/Polar Lights, however, this conversion project has been stopped
as has the writing of this tutorial.
It's a known fact to most modelers that the amount of work that goes into scratch-building a model of a subject not available as a kit is directly proportional to the likelihood that a kit manufacturer will soon release a full kit of that very subject and in the same scale. Round2/Polar Lights was kind enough to announce their plans to produce their Batmobile kit long before I got too far into this conversion. And, yes, I did purchase the Polar Lights kit. This unfinished modeling project and tutorial is dedicated to all of my fellow modelers who have ever busted their butts converting or scratch-building a particular subject because no kit was available only to see that subject be released in kit form after doing all that work. |
Scale Modeling Bat-Tutorial by Alan Nadel |
| ADVANCED
MODELER SYNDROME
(AMS): The need or desire to superdetail every model, often at the expense of completing any. From Fine Scale Modeler magazine's "Scale Modeling Glossary" (Nov. 2011) |
I grew up in the 1960s and was fed, from early on, a steady diet of
television.
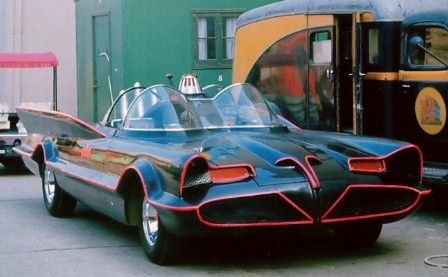
As a result, I firmly believe that the Batmobile from the 1960s
TV
show Batman
is one of the coolest cars ever
designed for TV or movies. This work of Car
Customization Art is still
impressive
years after it was created and is still a favorite of many
Bat-fans.
As a scale modeler and former 11-year-old who loved the show, I always
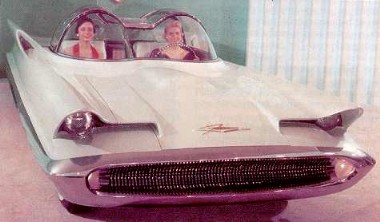
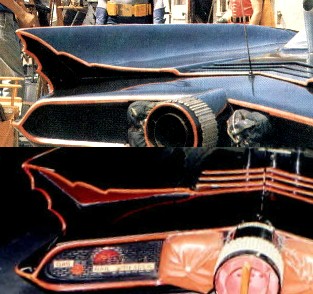
wanted to build a good replica of the car George Barris customized from
a 1955 Lincoln Futura show car.
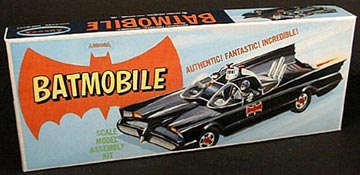
In the late 1960s, Aurora released their Batmobile kit which
had
a limited production run. At 1/32 scale it was small, lacking in detail
and had some accuracy issues. Like other kids, I couldn't wait to get
my
hands on one.
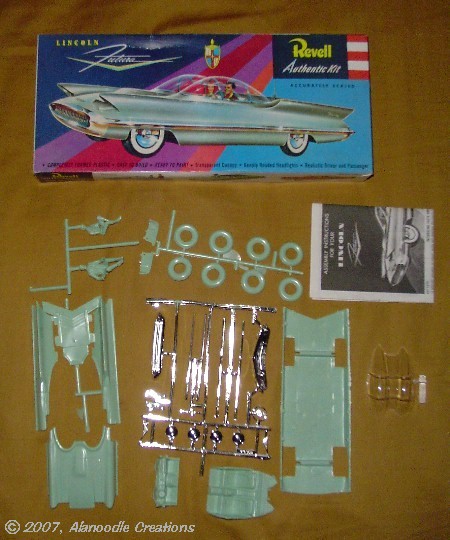
The Batmobile kit wasn't in hobby shops long before Aurora ceased production. No other major kit was ever produced. If a modeler wanted to build a Batmobile, there was a hard to find Japanese kit available in the 1990s which was also small and toy-like. There were also polyurethane resin "Garage Kits" being sold which had names like the "Batura" and the "Batcar" but these kits were crude, required advanced modeling skills and were pretty expensive. In the late 1990s, Revell re-issued its 1956-vintage 1/25 scale kit of the Lincoln Futura, the concept car that George Barris customized to become the Batmobile of the TV series. The kit was bought by many for the purpose of converting it to the Batmobile as Barris did to the real thing. This would be a job for an advanced modeler. I wanted to take on that challenge. At least my intentions were good. All I needed was the motivation.
That motivation was, to be kind, elusive. Having been an avid modeler
suffering
from AMS (Advanced Modeler's Syndrome), I already had several
major, not-quite-completed modeling projects in the works and I
just
wasn't up to taking on another one. The Futura kit sat on the
shelf.
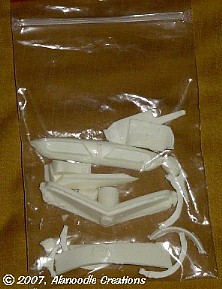
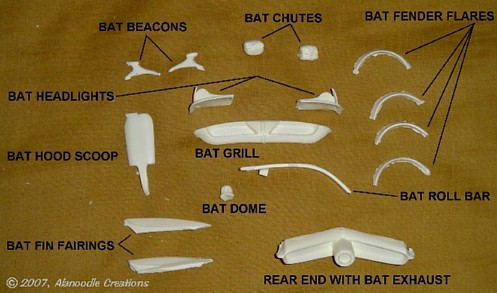
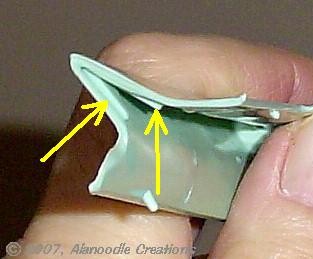
Skyhook's kit was not a disappointment. The parts are beautifully cast
with no visible pinholes. Some cleanup would be necessary but the kit,
without a doubt makes the job of building the Batmobile much
easier
than it would be otherwise. The resin parts fit the molded plastic
parts
of the Revell kit perfectly.
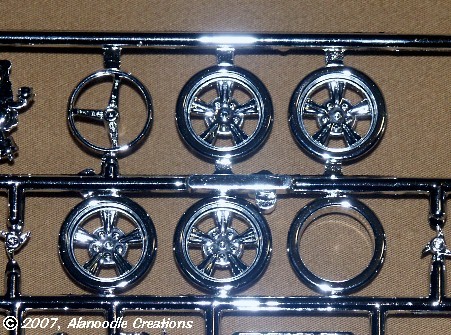
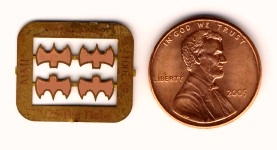
The Skyhook kit does not include tires or wheels. The tires and hubcaps in the Futura kit are a far cry from the Batmobile's chrome mag wheels with bat-spinners. Looking for accuracy, it was important that I build the Batmobile with the correct hardware.
In 2011, Round2/Polar Lights announced plans to release an injected molded, 1/25 scale kit of the '66 Batmobile. George Barris gave them access to the original #1 Batmobile to insure that an accurate kit was produced.
Work on this conversion stopped, thankfully before too much was put into this project. I did purchase the Polar Lights kit
and
the work on that is not going much faster than it would be if this was
another scratch-building piece. Progress on that can be seen here.
Some of the items acquired for the conversion have been put up for sale
on Doctor
Noodle's Basement. Who knows? Maybe I'll even get around to
building
the Lincoln Futura. BAT-REFERENCE LINK: The Original 1966 Batmobile website
|

![]()
![]()


![]()

© 2001 to 2026, Alanoodle Creations