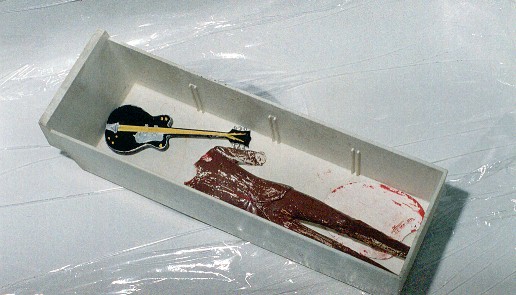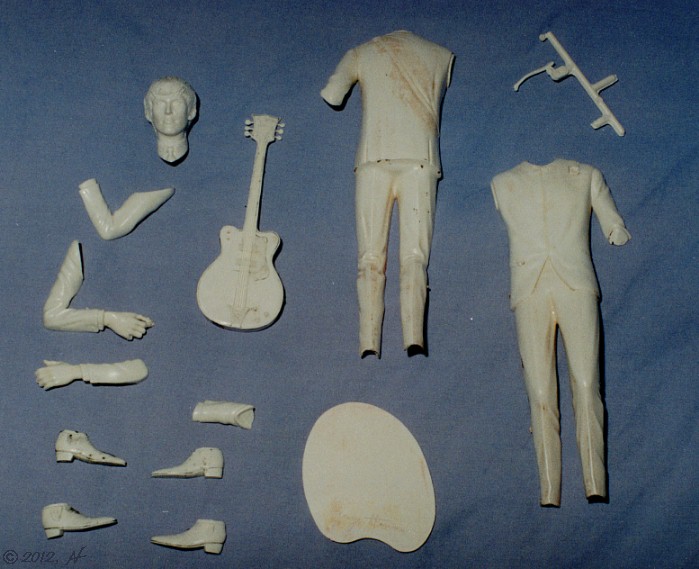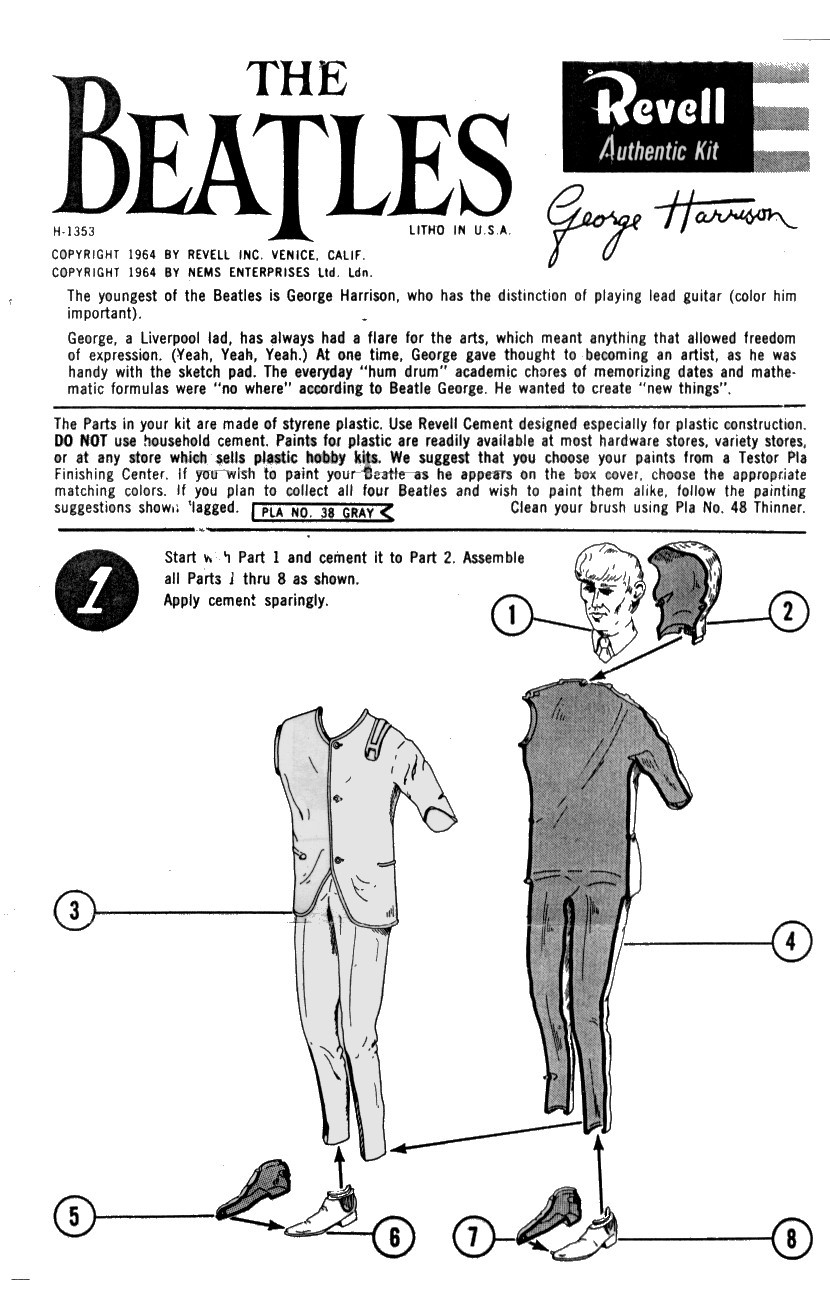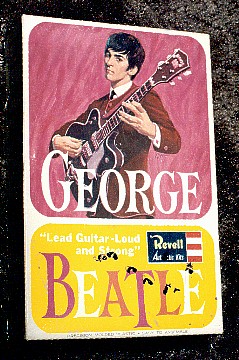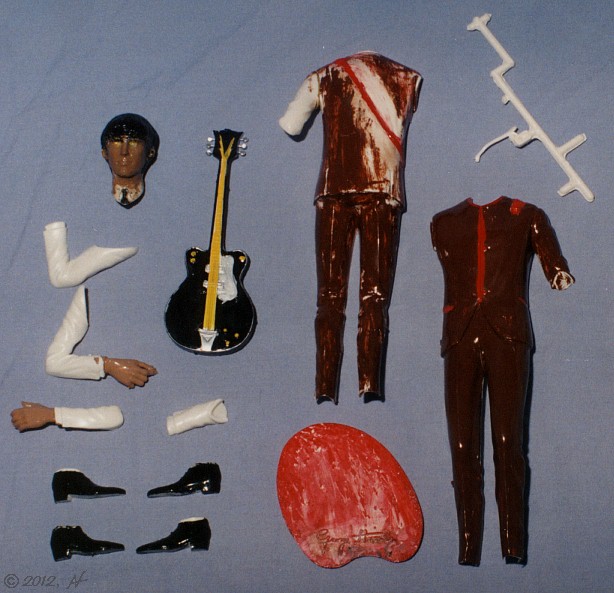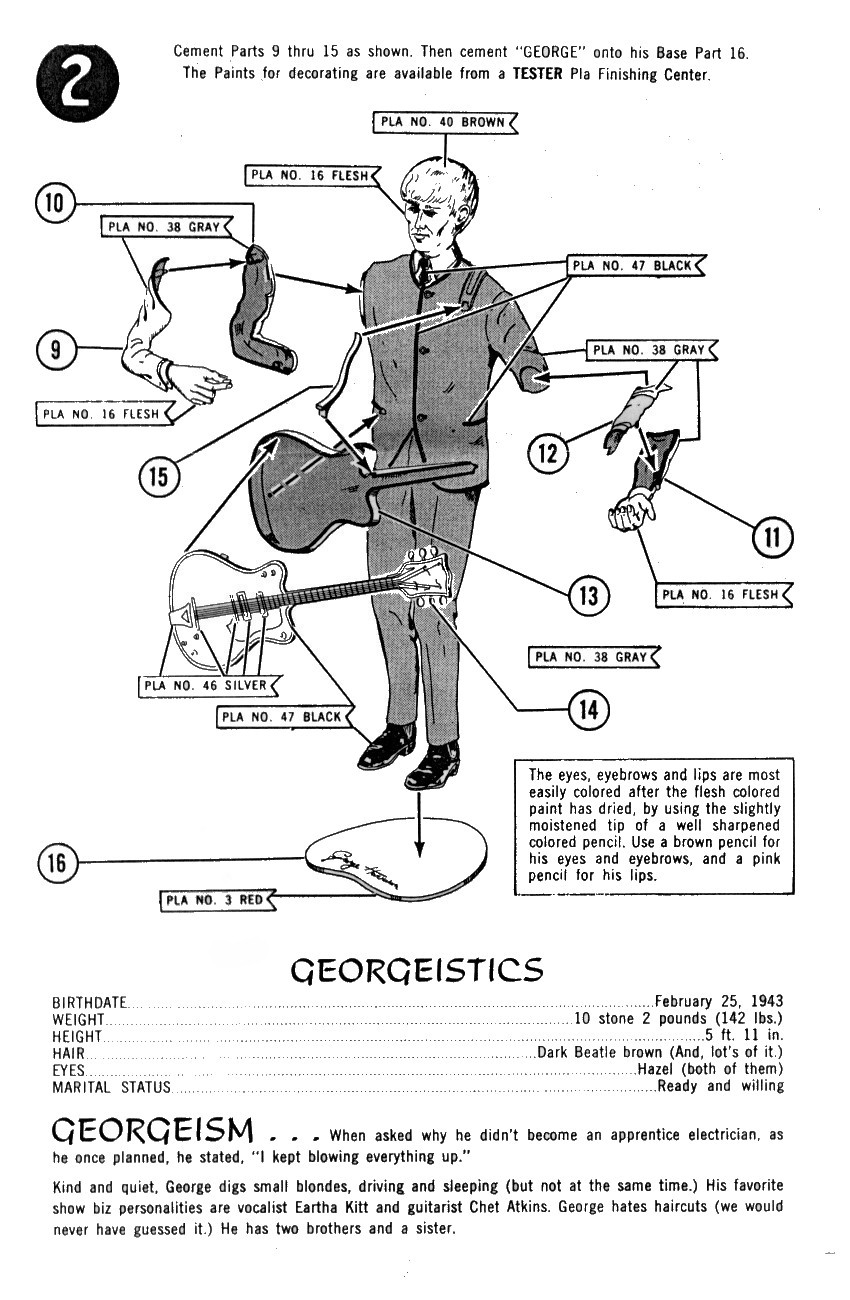
The kit was made up of 14 parts and was an easy build. The instruction sheet consisted of
two
exploded view drawings clearly showing part placement along with a
painting
guide and Beatle Bio:
| "George,
a Liverpool
lad, has always had a flair for the arts, which meant anything that
allowed
freedom of expression. (Yeah, Yeah, Yeah.)" |
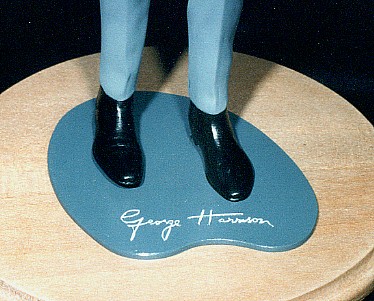
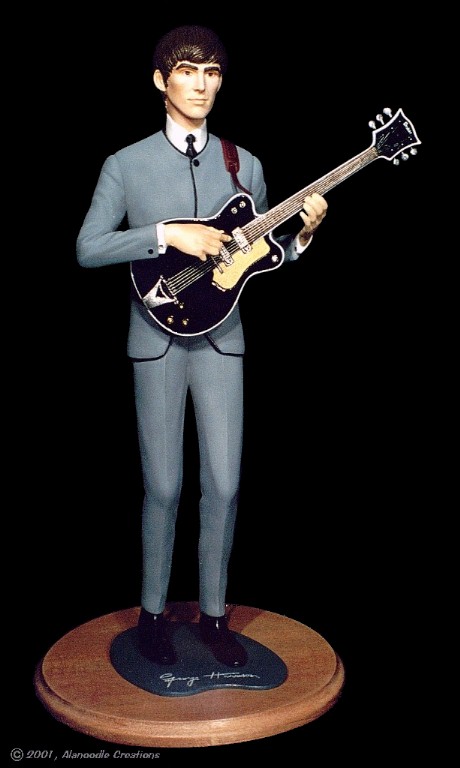
George's body
went together easily with no filling needed. Part fit was excellent.
The
front and back pieces fit together nicely with glue seams that lined up
with the creases and seams of George's suit. The finely detailed hands
were each molded in one piece, each attached to an arm half. Mold
parting
lines on the hands were easily scraped off with a hobby knife. The left
arm attaches to the body at the left elbow; the right arm (with hand
holding
a teeny little guitar pick!) at the shoulder. Only the left elbow
needed
puttying. The right arm attached cleanly at the suit's shoulder seam.
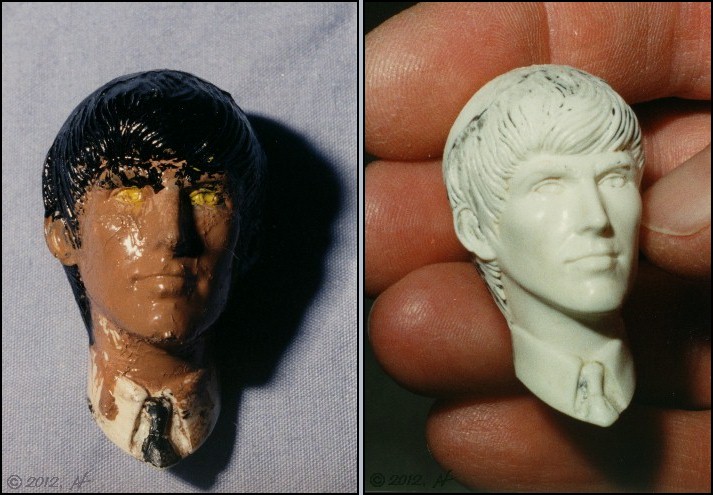
George's head,
one of the two assembled parts was glued with a considerable offset
which
would require some work to fix. The seam was puttied and the hair was
reshaped
with a needle file and re-textured with a hobby knife as were the backs
of both ears. Any seams or blemishes visible after misting with Bond
Tite
spray automotive primer were filled with Model Master enamel primer
(liquid,
in a jar) and wet sanded with 600 and 1200 grit sandpaper. The head was
finished when the skin was smooth and there was
no remaining trace of the seam.
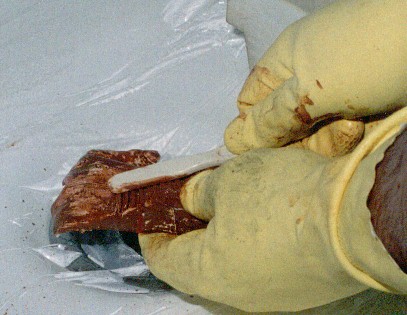
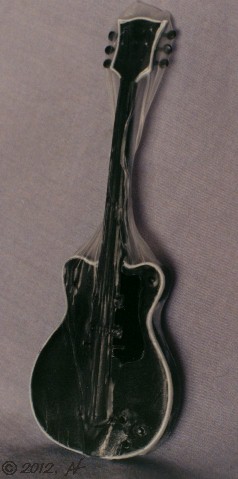
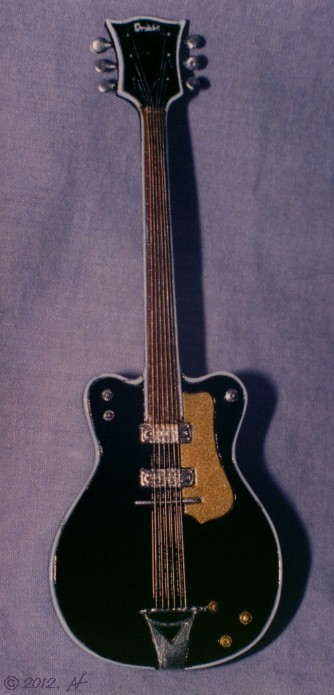
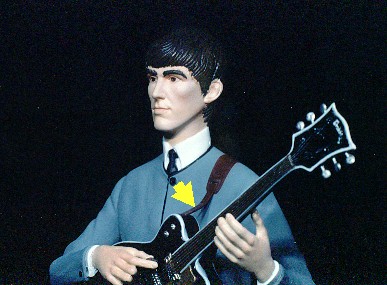
George's Gretsch
"Chet Atkins Country Gentleman" electric guitar was originally glued
together
with a wide gap with a location tab holding the gap open. It was
necessary
to cut through the tab with a razor saw in order to close up the guitar
body. A piece of .015" thick sheet styrene was laminated against the
side
to repair a slight offset. This was blended in with putty and
sandpaper.
A coat of primer brought out the beautiful molded-in detail of this
part
including screws on the pickups and excess strings hanging off the
tuning
pegs.

Using my trusty
Badger 200 airbrush and Tamiya acrylic paint, a 1:1 mix of (gloss)
White
and Flat Flesh was sprayed onto the face and hands as a base
coat.
Then, from below the face, I sprayed a darker 5:3:1 mix of Flat Flesh,
White and Flat Brown and from above, a lighter 12:6:1 mix of White,
Flat
Flesh and Red. This brought out light and shadows, highlighting facial
contours. The ears, nose and knuckles were lightly dry-brushed
with a 4:2:1 mix of White, Flat Flesh and Red for added realism. Clear
acrylic mixed with a little Flat Base was airbrushed on to give the
skin
tones a satin finish.
|